
Administrator Guide
This guide covers everything administrators can do — from creating your first invoice to configuring the whole system.
Navigation
As an administrator, your sidebar gives you access to:
- Invoices — create and manage invoices
- Bills — create and manage bills
- Receipts — view and manage receipts
- Subscriptions — set up recurring billing
- Clients — manage your customer records
- Settings — companies, number prefixes, exports, accounts
Getting Started
Before you create your first invoice, set up the basics:
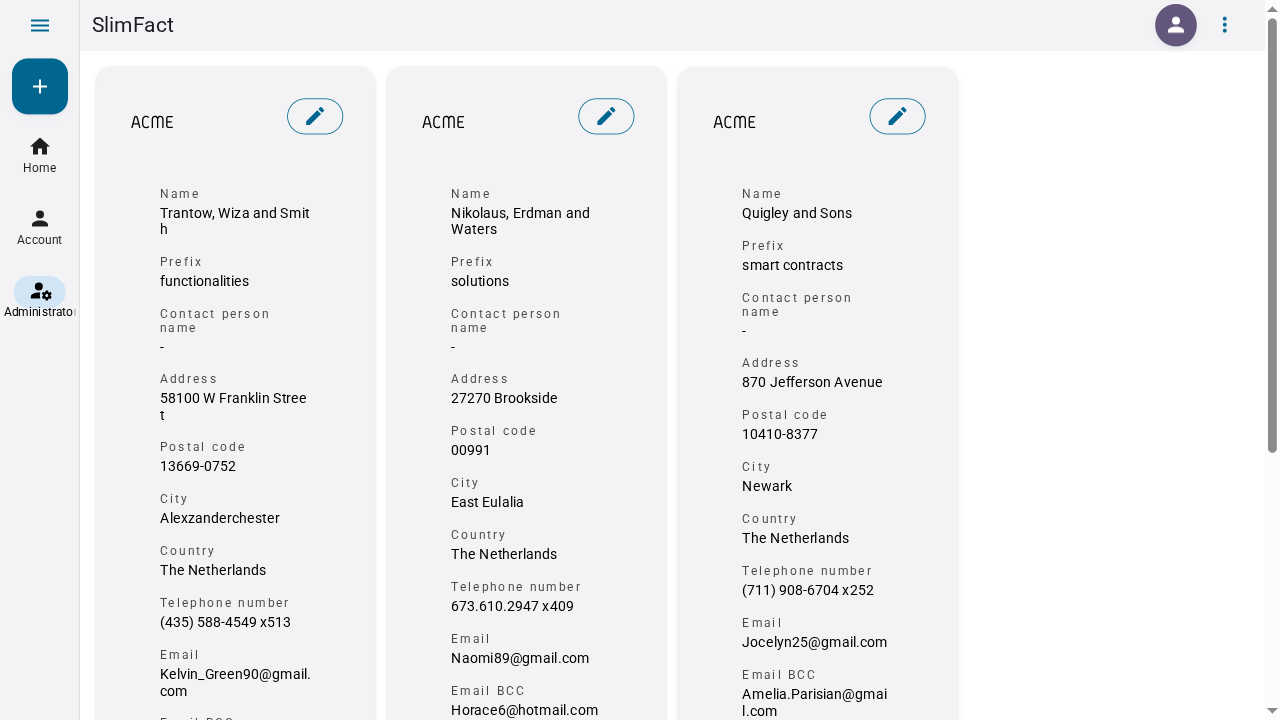
1. Create a Company
- Go to Settings → Companies
- Click the + button
- Fill in your company details:
- Name, address, postal code, city, country
- Contact person, telephone, website
- CoC number, IBAN, BIC, VAT ID number
- Prefix — a short code that identifies this company (e.g., "ACME")
- Email — the sender address for invoices
- Click Submit
2. Create a Client
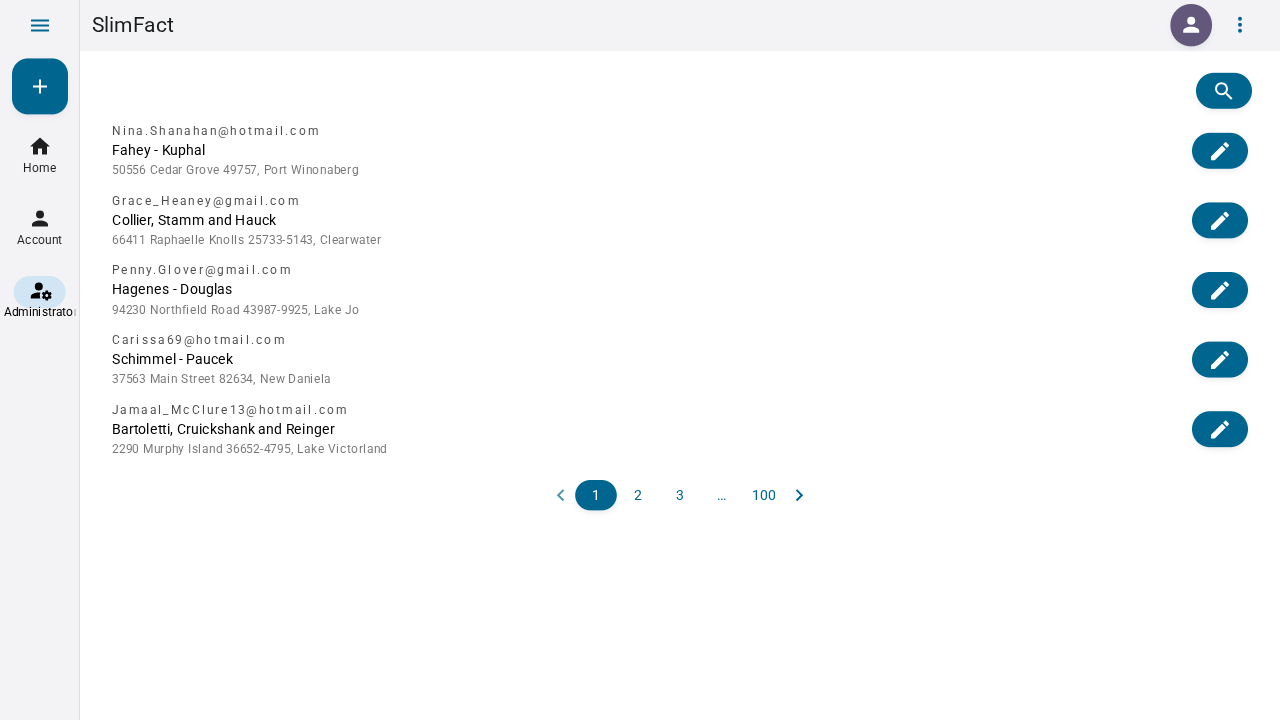
- Go to Clients
- Click the + button
- Fill in:
- Company name, contact person
- Address, postal code, city, country
- Email — where invoices are sent
- VAT ID and CoC number (optional)
- Click Submit
3. Set Up Number Prefixes
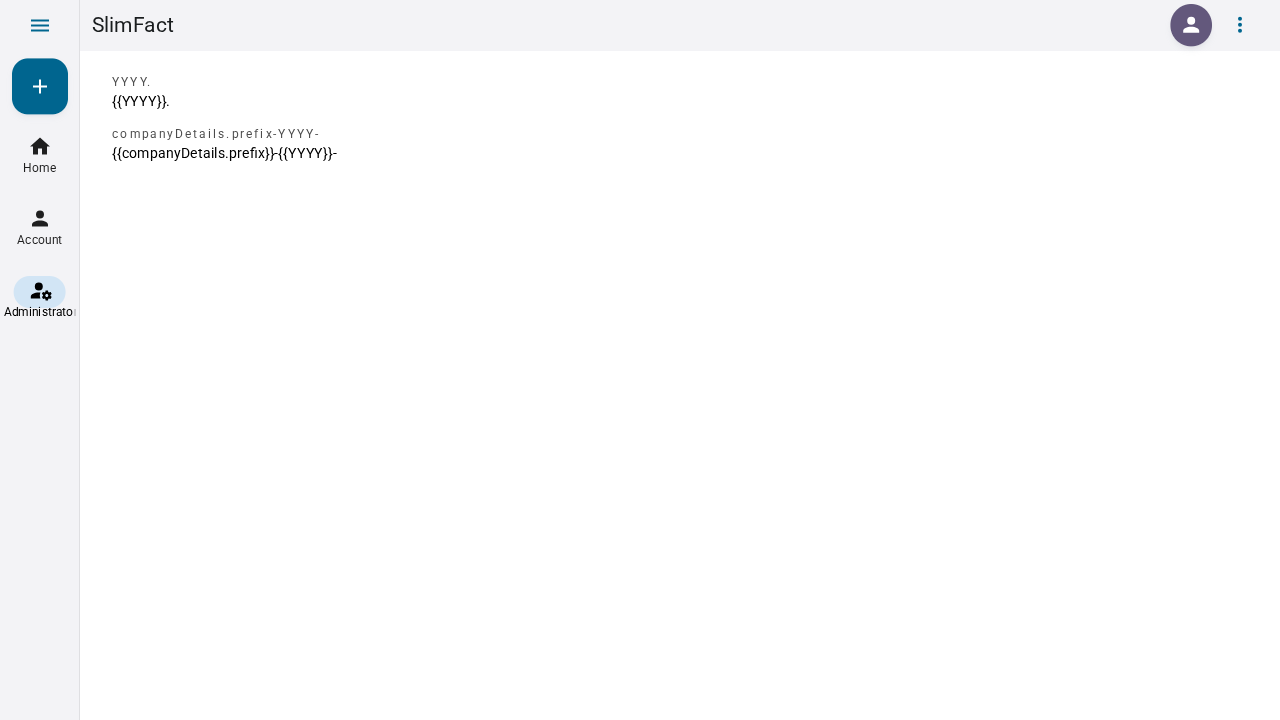
Number prefixes control how your invoice numbers look.
- Go to Settings → Number prefixes
- Click + to add a new template
- Set the template, for example:
{year}-{num}orF{year}{month}-{num} - Set the initial number — the first invoice will start from this number
- Click Submit
Creating Invoices
Invoices
- Go to Invoices
- Click the + button
- Select the Company and Client
- Choose a Number prefix
- Add Lines — click the line item to set description, unit price, quantity, and tax rate
- Optionally add discounts or surcharges
- Click Submit
- The invoice is created in Concept status
Sending an Invoice
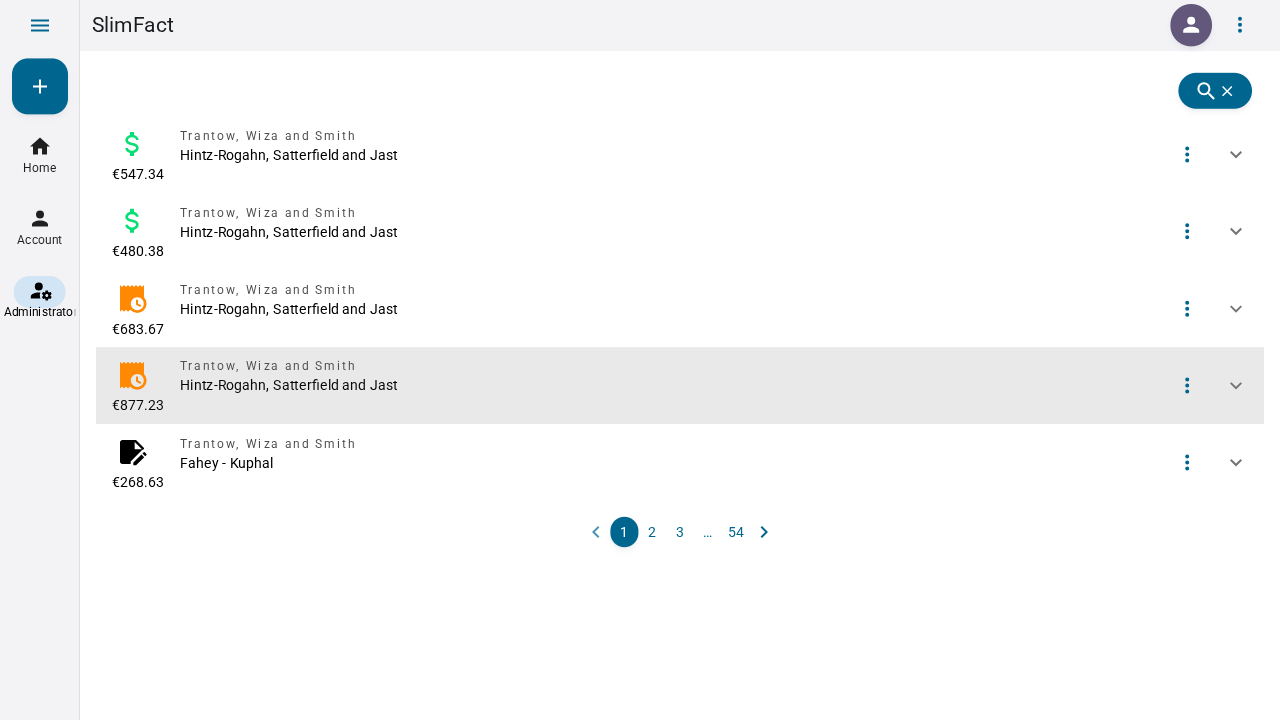
- Expand the invoice by clicking its toggle icon
- Click the More menu (⋮)
- Click Send
- Add a subject and message (optional)
- Click Send — the invoice status changes to Open and the customer gets an email
Invoice Actions
Once an invoice is expanded, the More menu gives you:
| Action | When available |
|---|---|
| Edit | Concept, Bill |
| Send | Concept, Bill — emails the invoice to the customer |
| Open | Any status except Canceled — opens the public invoice page |
| Cancel | Concept, Bill (if no amount paid) |
| Add payment | Open, Bill (if amount due) — cash, bank transfer, or online |
| Send receipt | Bill (if fully paid) — converts to a receipt |
| Send reminder | Open (after due date, with 7-day cooldown) |
| Send exhortation | Open (after 2 reminders, with 7-day cooldown) |
Invoice Status Flow
CONCEPT → OPEN → PAID / CANCELLED- Concept — still editing, not yet sent
- Open — sent to customer, awaiting payment (immutable)
- Paid — payment received
- Cancelled — no longer valid
Reminders & Exhortations
When an invoice is overdue, you can send payment reminders:
- Send reminder — the first reminder can be sent once the payment term expires. A second reminder is available 7 days later. After two reminders, you'll be prompted to send an exhortation instead.
- Send exhortation — a formal demand for payment, available 7 days after the second reminder.
The invoice shows when reminders were sent. Email templates for both are customizable under Settings.
Bills
Bills work just like invoices but start with a different intent. Create a bill when you want to request payment. Once paid, convert it to a receipt — proof of payment.
- Go to Bills
- Click + and fill in the details (same as invoices)
- Click Submit
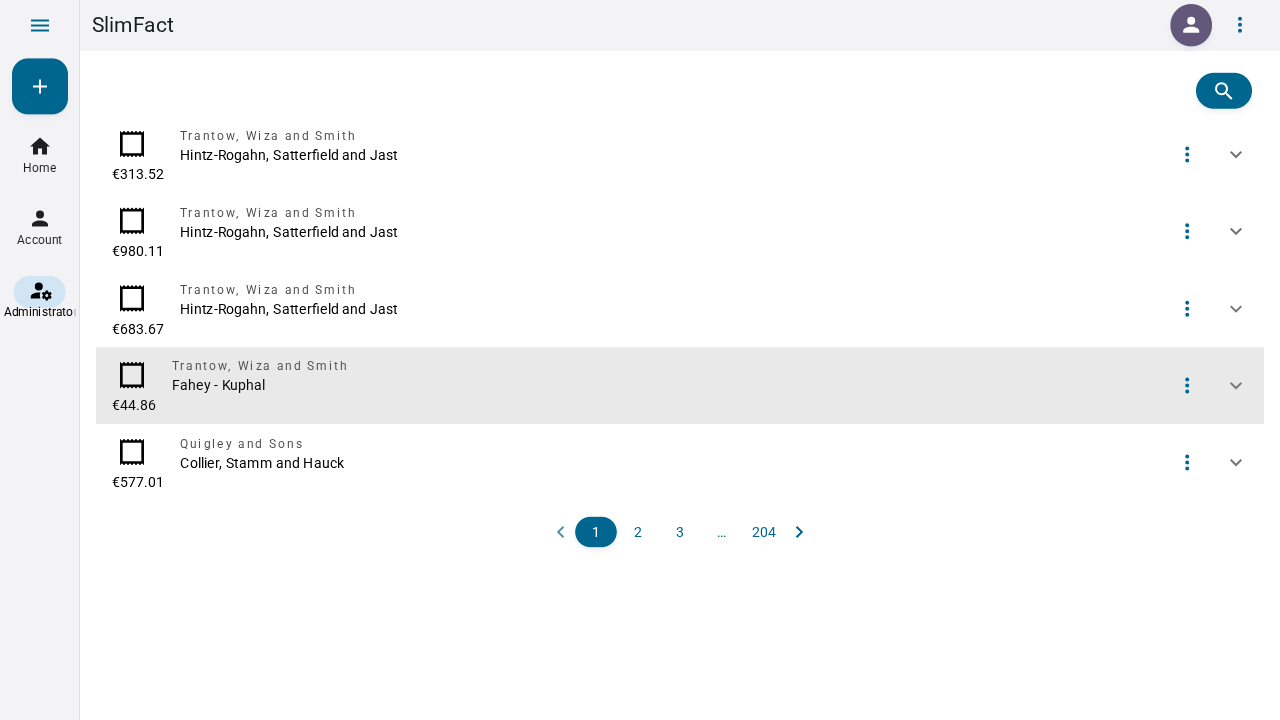
Once a bill is paid, it can be converted to a receipt. A receipt can then be converted to an invoice.
Sending a Bill
- Expand the bill and click the More menu (⋮)
- Click Send
- Add a subject and message
- Click Send — the customer receives an email with the payment request
Converting a Bill
- Once the bill is paid, expand it and open the More menu
- Click Convert to receipt
- The bill becomes a receipt — you can now convert it further to an invoice
Receipts
Receipts are proof of payment. They're created by converting a paid bill.
- View receipts under Receipts in the sidebar
- Receipts are created from paid bills. They can be converted to paid invoices
Subscriptions
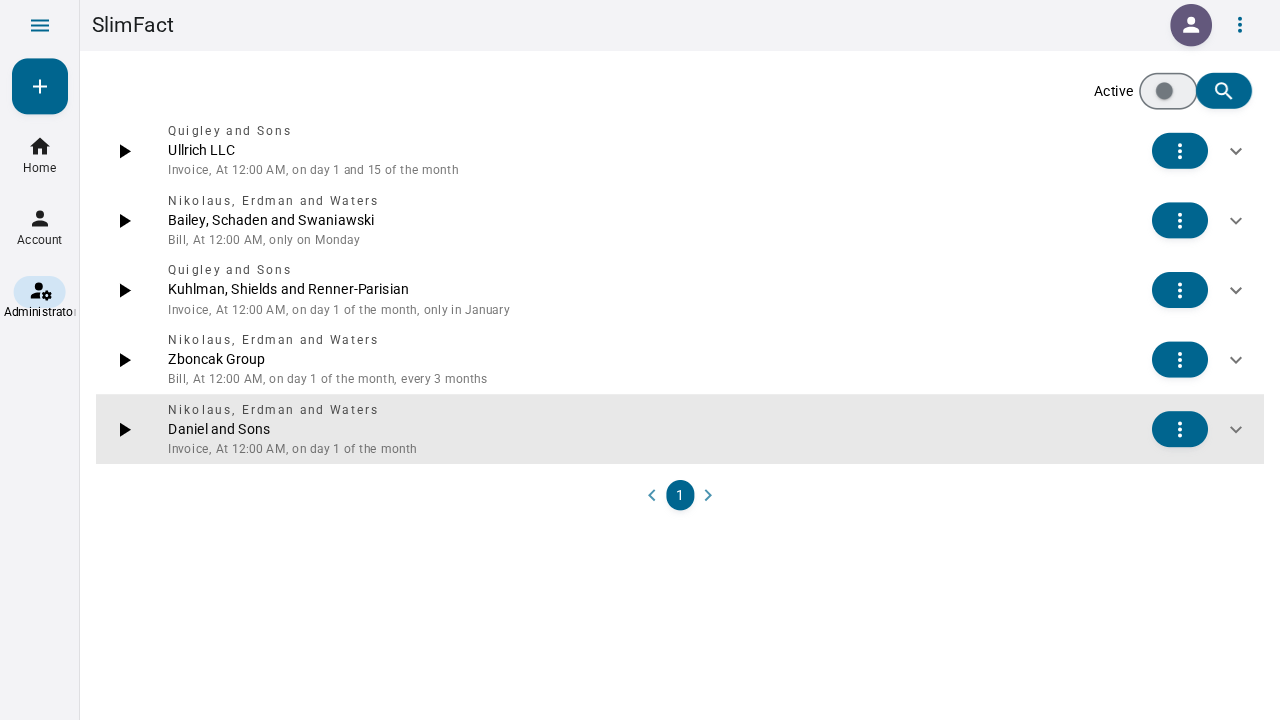
Set up recurring invoices that generate automatically.
Creating a Subscription
- Go to Subscriptions
- Click +
- Select the Company, Client, and Number prefix
- Choose the Type — invoice or bill
- Add line items — same as invoices
- Set the Cron schedule:
0 0 1 * *— first of every month0 0 * * 1— every Monday0 0 1 */3 *— every 3 months
- Set Start date and optionally End date
- Click Submit
Managing Subscriptions
- Toggle active/inactive — pause without deleting
- Edit — change the schedule, lines, or details
- Delete — remove permanently
Online Payments
SlimFact supports multiple payment service providers.
Configuring Mollie
Set MOLLIE_API_KEY and SlimFact handles the rest. For multi-company setups, add company-specific keys with MOLLIE_API_KEY_<PREFIX>.
Configuring Stripe
Set STRIPE_API_KEY. Same multi-company pattern: STRIPE_API_KEY_<PREFIX>.
Payment Method Routing
Control which PSP handles which payment method:
| Env variable | Default | Options |
|---|---|---|
IDEAL_PAYMENT_HANDLER | Mollie | mollie or stripe |
CREDITCARD_PAYMENT_HANDLER | Stripe | mollie or stripe |
Cash & Bank Transfer
These are offline payment methods. Record cash payments or bank transfers manually from the invoice's More menu.
Refunds
- Open a paid invoice
- From the More menu, select the refund option
- The refund is processed through the original PSP
Exports
Export Formats
Go to Settings → Exports to access:
- Digiboox — export invoices in Digiboox format. More formats available on request.
When sending an invoice by email, the PDF is attached automatically. If the invoice is OPEN or PAID, a UBL XML is also attached.
Email Tracking
When you send an invoice by email, the invoice link includes a ?eventType=emailOpened query parameter. When the customer clicks the link to view their invoice, SlimFact records the event.
Tips
- Set up your company first — an invoice needs a sender
- Use number prefixes consistently — pick a format and stick with it
- Review drafts before sending — invoices become immutable once opened
- Check subscription schedules — make sure cron expressions are correct
- Monitor email opens — know when customers are engaging with your invoices